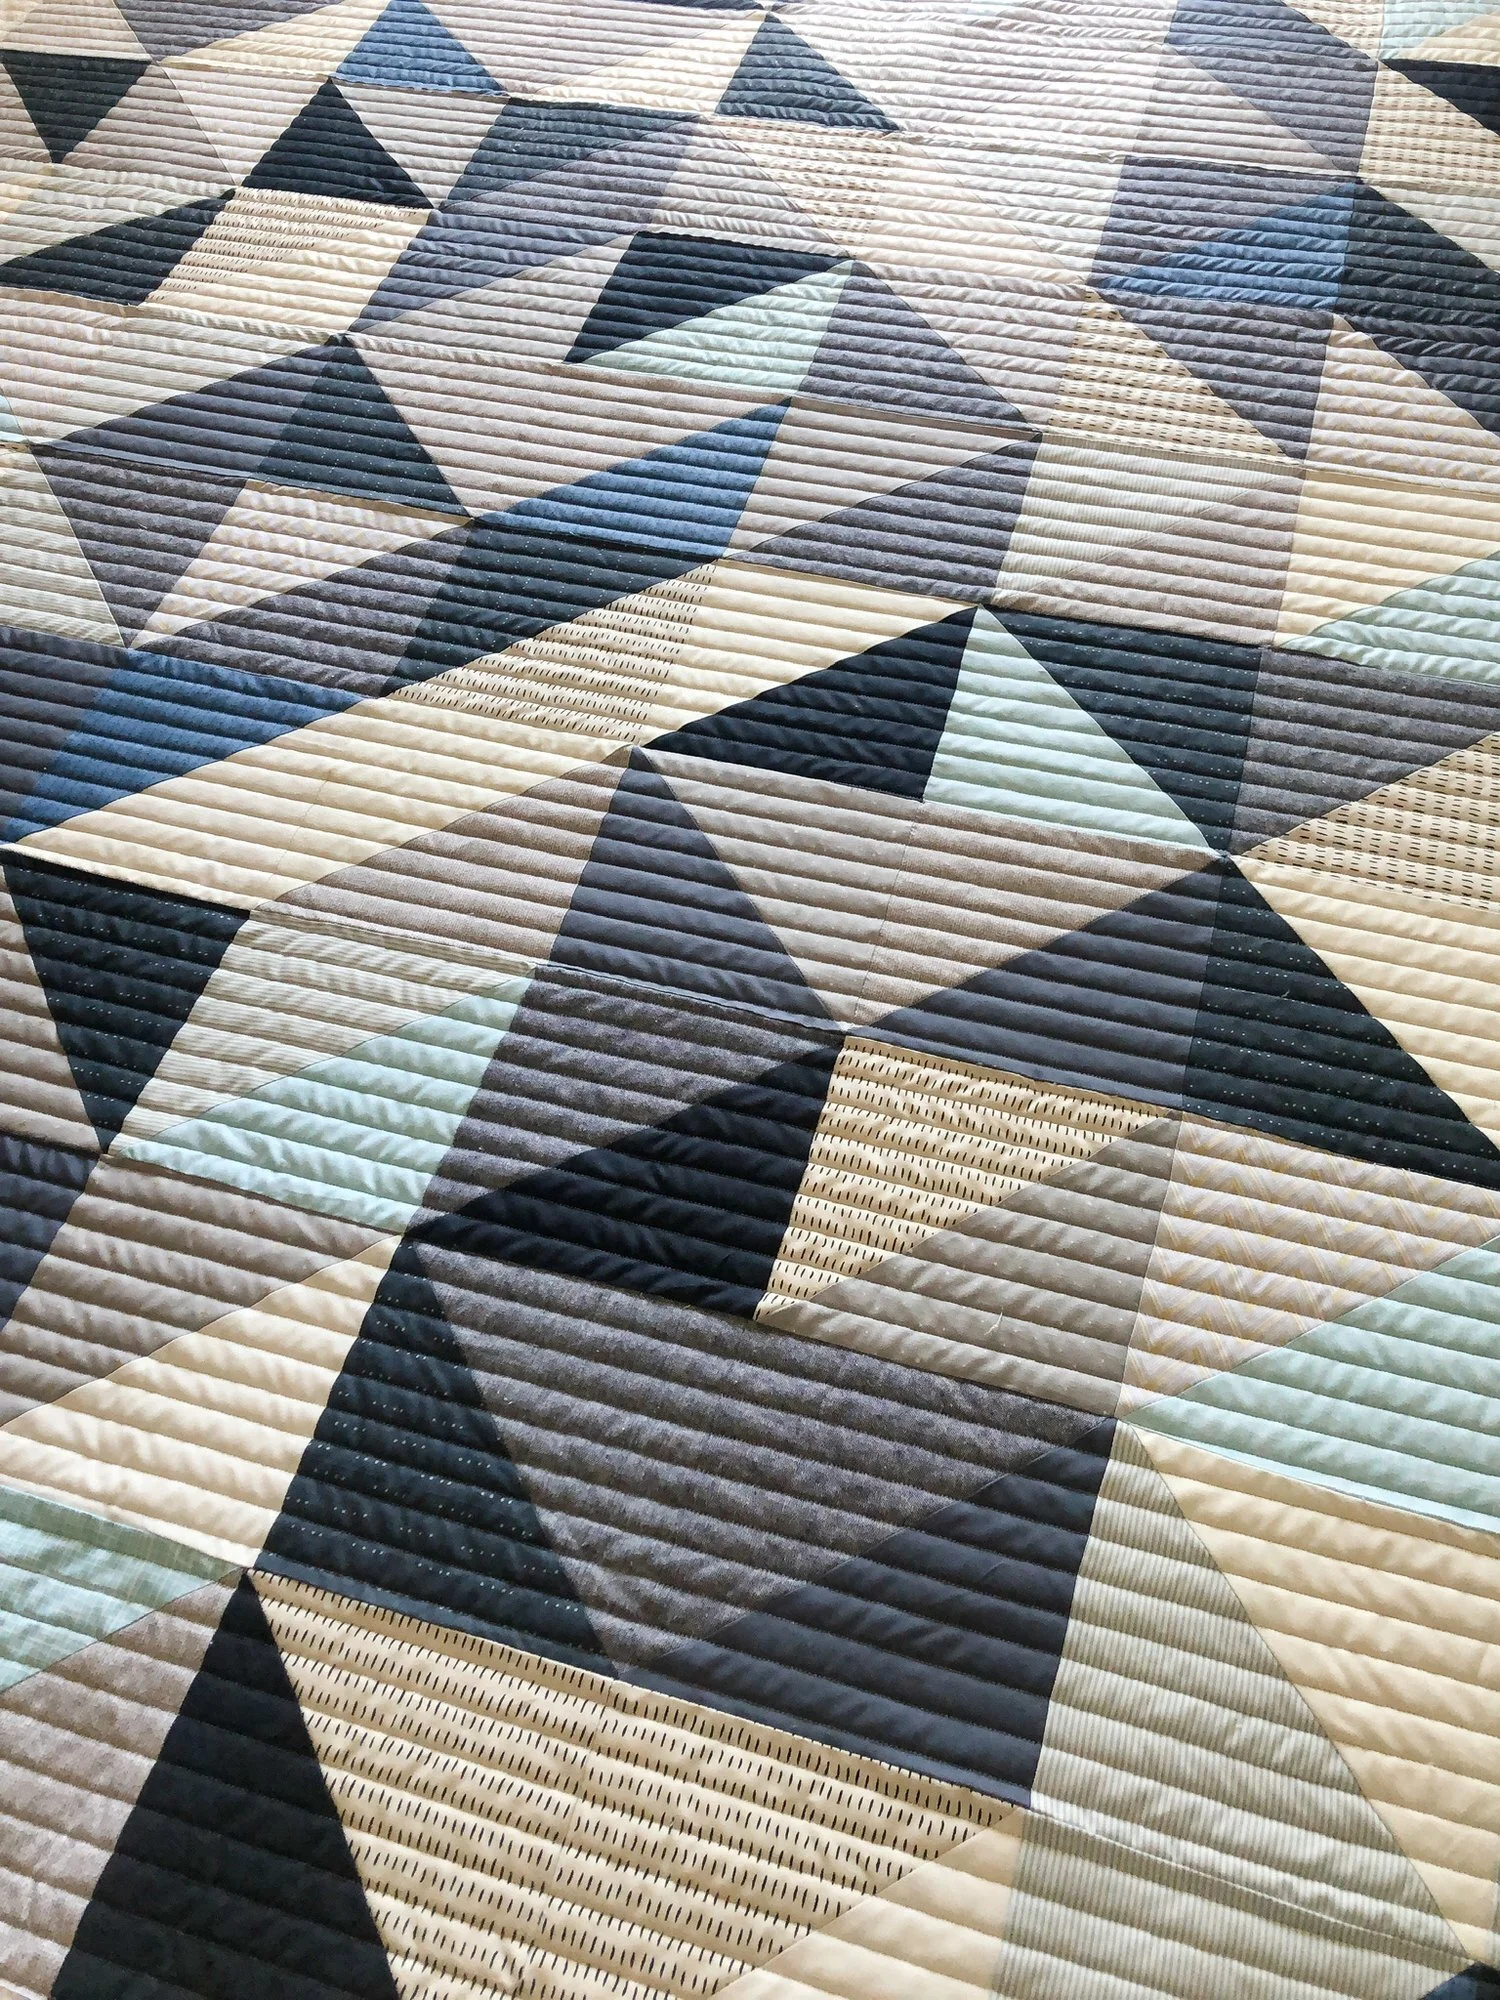
Lined bundle, 1", 1/2", 1/4", 3/4" - Extended Width Design
©2021 Leisha Farnsworth quiltingit.com
READ BEFORE PURCHASING: This design is a BUNDLE of all four Lined designs, which are all extended width designs set at a 120” width. The 1”, 1/2”, 1/4”, and 3/4” lines will quilt back and forth. Check each design’s height listed below.
In order for the lines to have the correct spacing, each design needs to be set up with the following heights.
For the 1” spacing, the design height must be set at 13” and the width of the design is at 120”.
For the 1/2” spacing, the design height must be set at 11.5”, and the width of the design is at 120”.
For the 1/4” spacing, the design height must be set at 11.25”, and the width of the design is at 120”.
For the 3/4” spacing, the design height must be set at 11.25”, and the width of the design is at 120”.
To use an extended width design you’ll have to understand how to set it up on your machine. For the Gammill Statler, which I use, I create a boundary and use repeat patterns. The design will extend beyond the width of the boundary, which I will then trim (crop) the excess that I don’t need. Extended width designs offer us the option of quilting certain designs that wouldn’t be possible or would take a great deal of time otherwise.
It is also your responsibility to figure out how to get your thread to not break when quilting from right to left. Tips for that… put your needle position at 5:30, a new needle, a finer thread, slow your machine down but not too slow, and you can spray your thread with distilled water. I’m sure there are other tips, those are just ones that work for me. I use Omni thread, and when I quilted the quilt pictured, I sprayed the Omni thread quite a bit. The thread broke a few times here and there, which is a vast improvement from 3 to 5 times each line quilted from right to left. Someone suggested Glide thread, to help with thread breaks.
This design comes in the following digital formats BQM, DXF, HQF, IQP, PAT, PLT, QCC, QLI, SSD. No PDF provided because of the closeness of the lines and the width of the design. The file also includes an image that you can use for personal use to advertise designs you offer your clients. This design is copyrighted and can’t be produced or published in any way without formal written consent. Copyright 2021 Leisha Farnsworth.
You may not share this or any of my digital products with another person whether you work under the same business or not, doing so violates copyright laws and the terms of use of Quilting It LLC.
The link to your zip file will expire 24 hours after your initial download. If you need me to resend it, I’m happy to. Please contact me here: https://www.quiltingit.com/contact


