Quilting Tips for Lining Up Digital Designs!
I’ve had some questions lately on how I line up designs, as I advance or roll the quilt. If you use something different, that won’t let you change the design, play with it and figure out how to tweak it. I’m using Edge to Edge mode, in CS7 by Gammill Statler. I also use place two pins on every quilt, so I can get a left and right reference point. Please let me know if you have any questions. Happy weekend!
More pictures and info about this quilt will be coming in my next blog post. The design I’m using is by Marci Gore from Lily Street Designs, and the quilt was made by Beth.
- Leisha
Kathy’s “Sheep Shape” Quilt
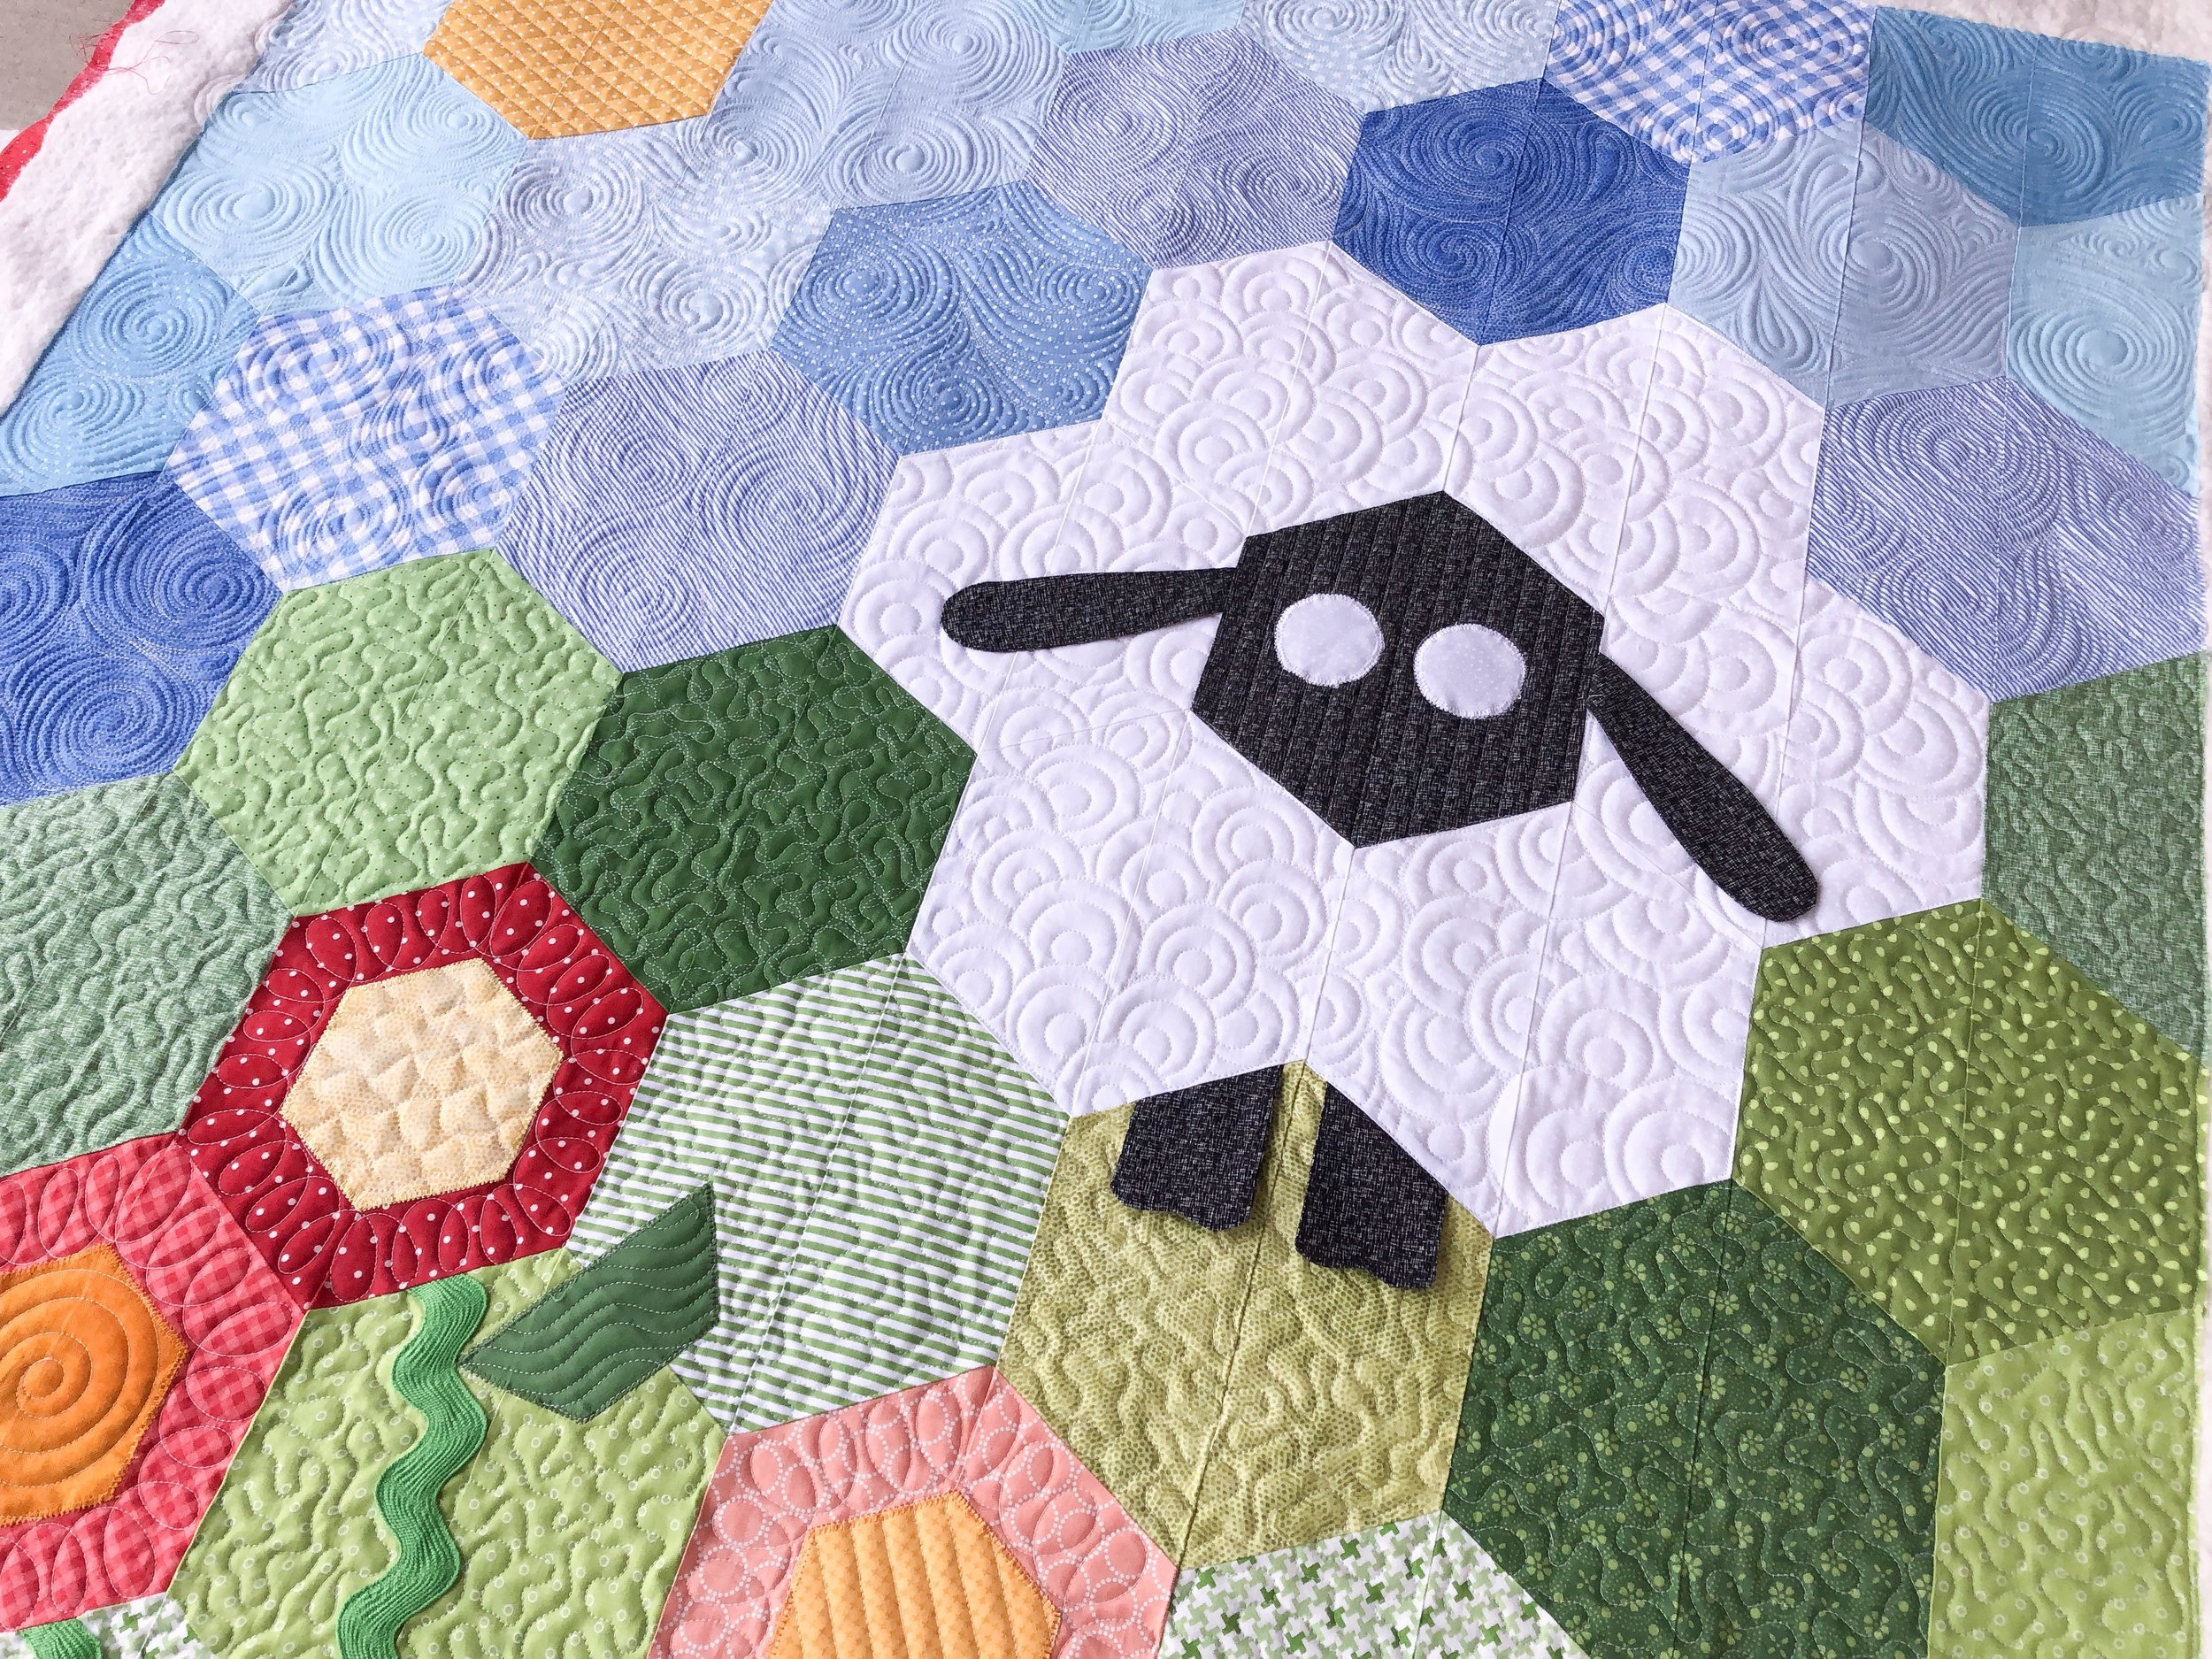
Kathy made this for her soon to be grand daughter. It turned out so sweet!!! This super cute Sheep Shape quilt pattern is by Deonn Stott from Quiltscapades and it’s available in the Quiltmaker Magazine in the May-June 2014 issue and Quiltermaker’s Readers Favorites 2015.
Because the blocks on this quilt are all the hexagon shape, it’s was important to quilt different textures for each of the specific parts of the quilt. Wind for the sky, overlapping circles for the sheep’s body, and stippling for the grass. So, I thought it would be great to video each of them. Even the stippling. It was the first thing I learned as a machine quilter in 2005, and is still just as notable as it was back then. I know every quilters skill level is different, so for some the swirly design will be what you take away from this post, while others will enjoy trying out the overlapping circle design, and some are wanting to work on their basic quilting skills. Where ever you are, join in the fun! You just might enjoy all three.
First I’d like to share this fun overlapping design. It’s done freehand, as shown in the video. I will say, each video is relatively short, and you may learn something from each one. I do share a few quilting tips for each design. This overlapping circles design adds such an awesome texture and dimension to anything it’s quilted on.
For the face of the lamb, I quilted 1/2” lines using an Edge ruler from Linda at www.thequiltedpineapple.com I also used the Edge ruler to quilt the diamond grid on the sun.
Let talk wind!! Have you ever tried quilting it before? It’s fun, but can be difficult to fill in below the previous row. Watch the video below, and if you feel like you need a little practice before quilting it on a quilt, doodle. If you’re new to quilting, doodling helps you with figuring out how to quilt a design out. It’s also important to think about where you’re going next, so you don’t quilt yourself into a corner...which I talk more about in my stippling video.
I used a white 30 tex A&E Perma Core thread, and my favorite 8020 cotton poly blend batting from Winline.
I just love the motion of that swirly wind!
Okay, so I have some great tips on how to achieve a great stipple. This is also the perfect design to get you going if you haven’t done any freehand machine quilting. I talk about spacing, avoiding the dog bone look, and looking/thinking ahead...that certainly keeps you out of a corner, and ensures that you don’t leave spots unquilted. Give it a listen, and see if you learn anything new. For more machine quilting videos, head on over to my YouTube channel at: https://www.youtube.com/user/QuiltingIt
Just wanted to remind you quickly about the 10% off sale, I’m having right now on my Circle2 machine quilting circle ruler set, until Monday it midnight. Enter “THANKYOU10” at checkout. They come in a set of 6, and range in size from 2” circles to 13”. They can be used on a longarm machine and a sewing machine with a quilting foot. They are a 1/4” thick and 2.5” wide, so they are easy to hold while quilting. Just this week I used the 9” and the 13” rulers, also used the 3” and 4” circles on the Easter Pillow fronts from the previous post. Because of the need for a variety of sizes and the versatility of having a set, this is a great addition to your machine quilting. They are available in clear and green, at https://www.quiltingit.com/shop?category=Rulers
They come with excellent lines and measurements.
The unique thing about these rulers, besides the 3/4ths of a circle design and having 2 different sizes of circles in one ruler, is the correct circle measurement. Correct meaning, when you use the 13” circle ruler below with a 1/4” hopping foot (quilting foot), your going to quilt a 13” circle...not a 13.5”. The set of circles that I used for many years, gave me half sized circles, which can be frustrating when you’re wanting an exact size. The key is that the hopping foot adds 1/4” all the way around the circle, which ends up add a 1/2” to the circle size. Because I took that into consideration when designing this ruler set, you’ll get the correct sizes for each circle. I love using them every chance I get, and hope you’ll enjoy using them, too!
Here is a look at one of my rulers in action!
Thank you for stopping by, and happy quilting!!
- Leisha
Maria’s Cheer Quilt
My aunt Maria made this cheer quilt for her daughter who is a senior in high school. She’s been on the cheer team all three years. I love the fabrics she chose.
Maria had a local embroidery shop (The Logo Shop) do all the embroidery, and they always do an awesome job!! They have great options for all of the local schools.
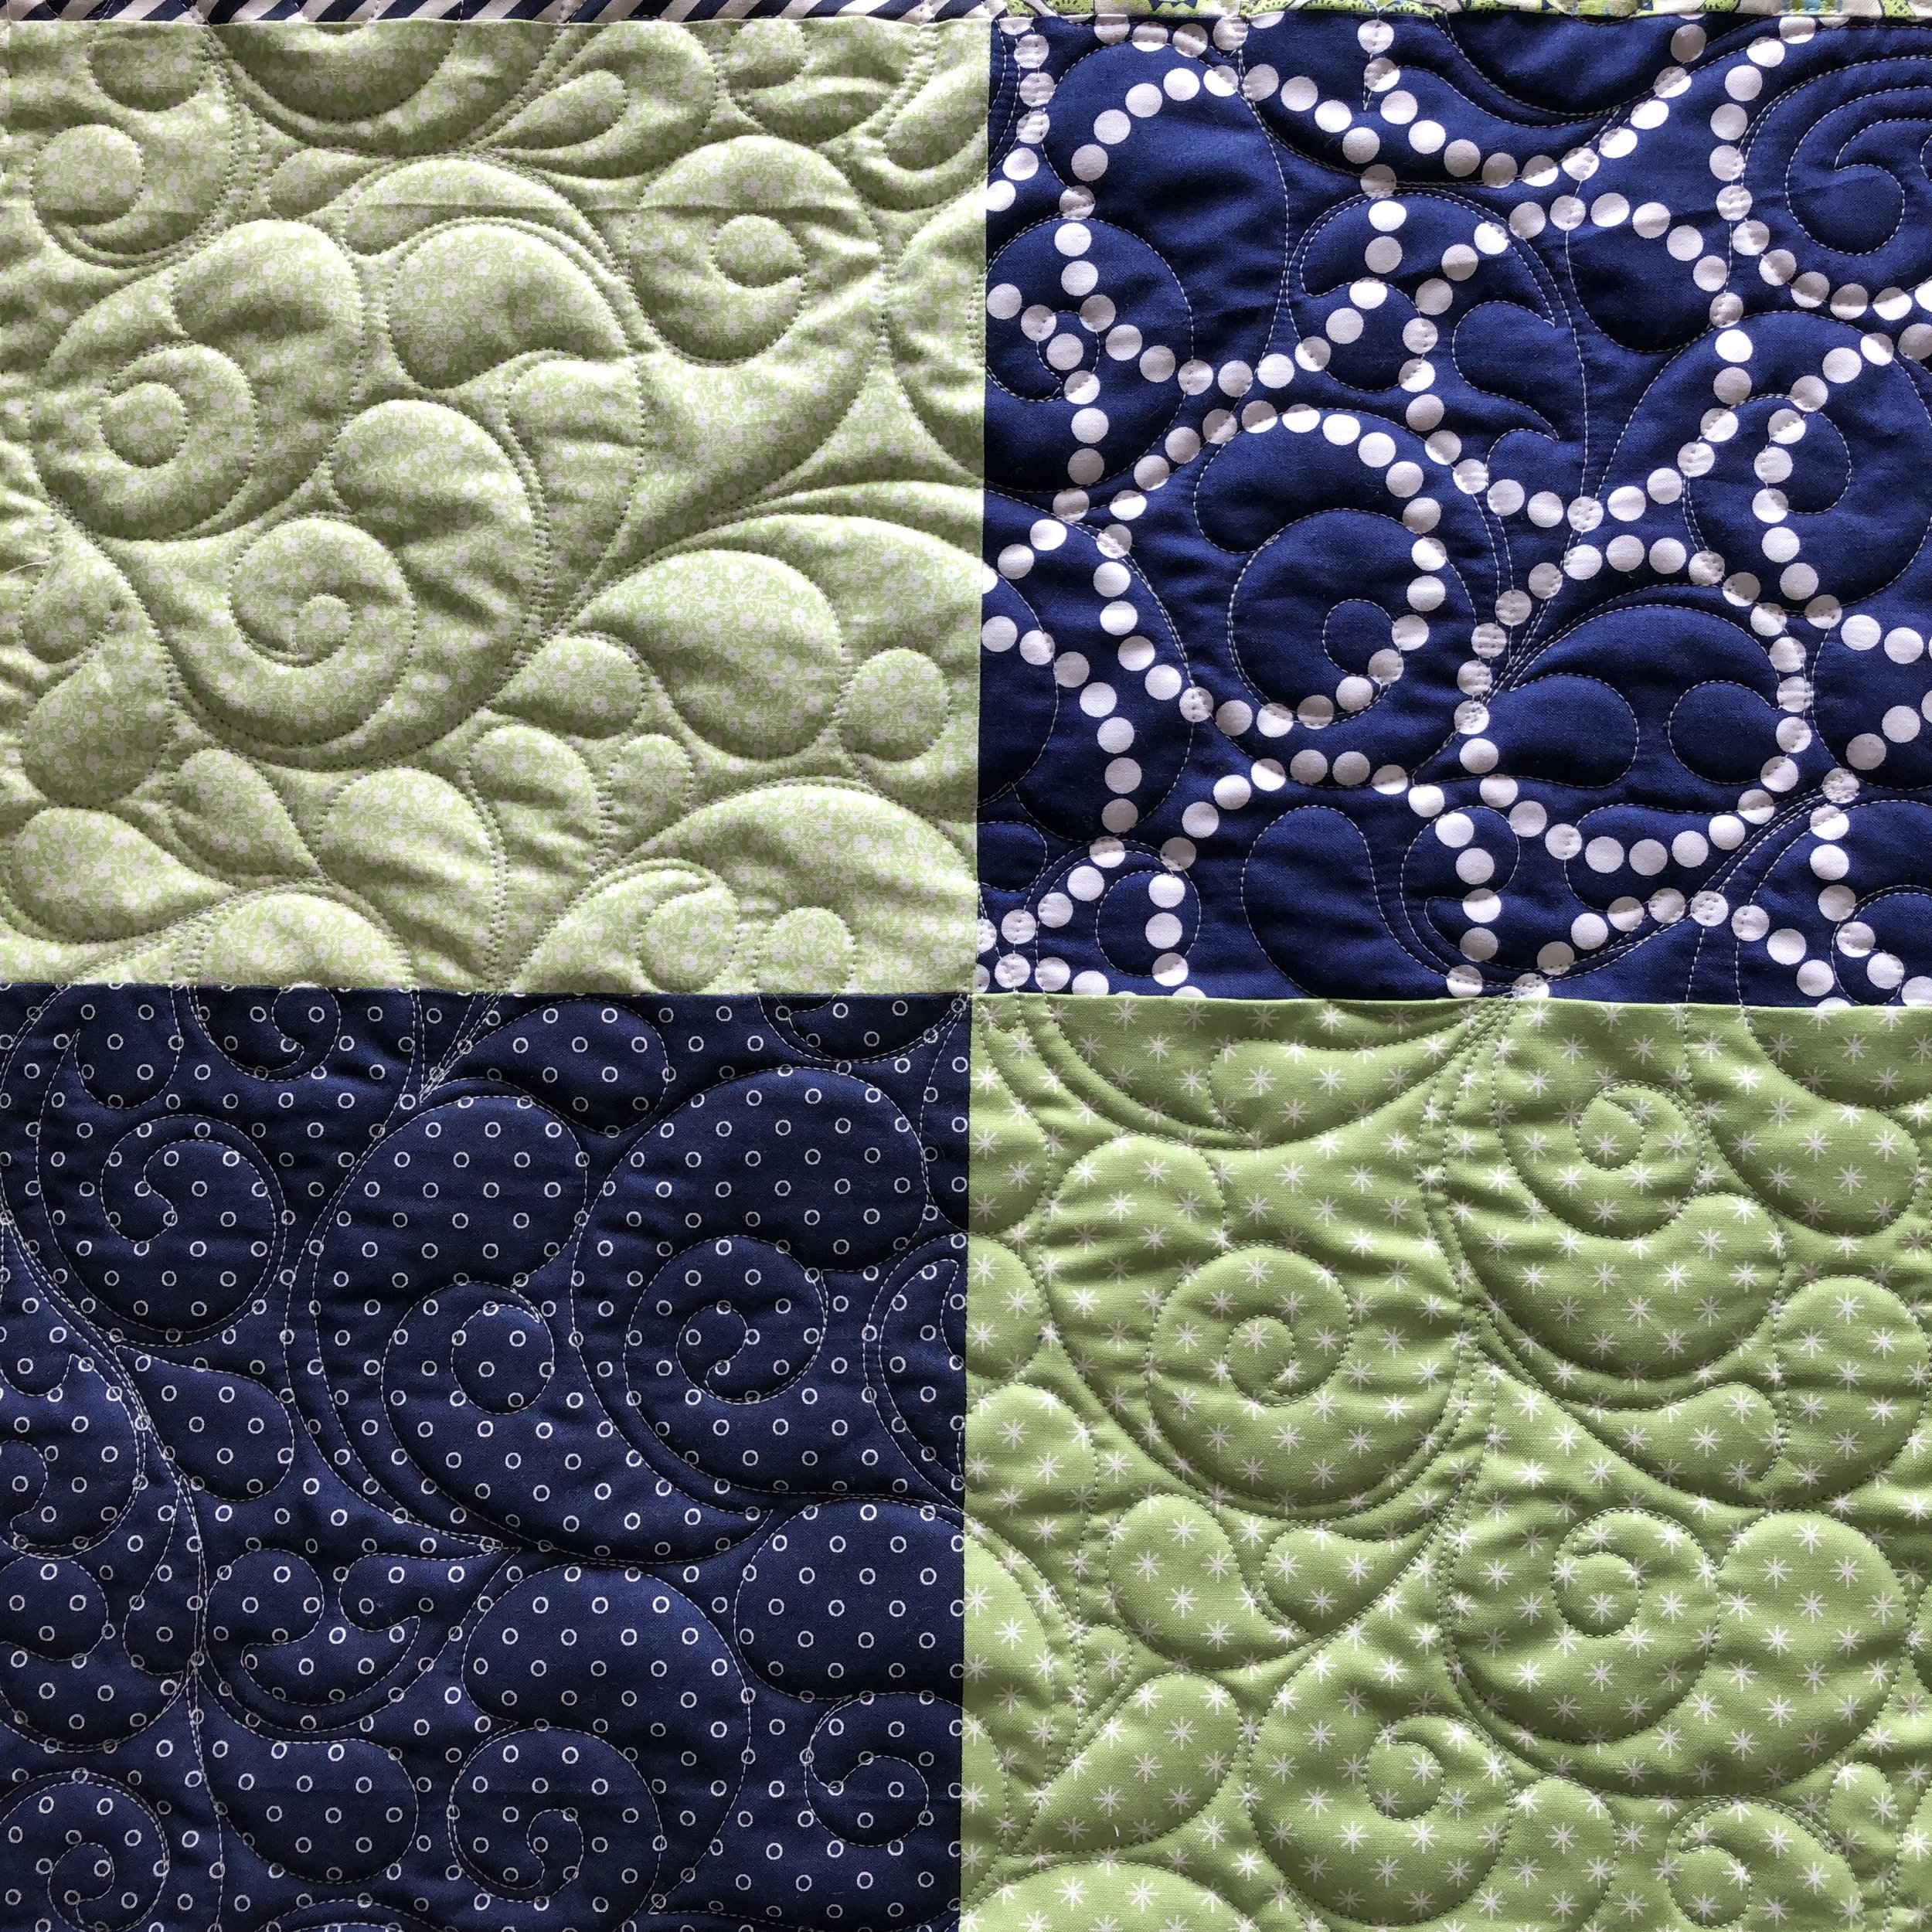
Maria chose this freehand swirly feather design that I do, for the quilting. Yes, it’s done freehand. I even videoed it while I was quilting so you can see how I do this design randomly. It’s all about filling each space. Quilting tip: for those of you wanting to try freehand or enhance your freehand quilting skills...give this design a try. It’s very forgiving. So, for the tip, think ahead. Where are you going to quilt next and where do you need to quilt so you don’t leave any spots unquilted. Once you start doing that, it will become second nature to you.
Give it a try sometime, you’d be surprised how fun it is!!!
Here is an angled and close up view.
I used white 30 Tex Perma Core A&E thread and Winline’s 8020 cotton poly blend batting.
Love when I get to quilt for family!! My grandma even helped Maria do the binding.
If any of you are strictly computerized or paper pantograph quilters, don’t worry...Patricia Ritter and I designed a pantograph after this design. It’s called Venice Too and it’s available at https://www.urbanelementz.com/venice-too.html
Happy Quilting!!
-Leisha
Marla’s amazing Steam Punk quilt!
It’s always a treat to custom quilt, quilts like this one. Marla made this amazing Steam Punk quilt, pattern by Jen Kingwell.
I love the pops of color with the scrappy low volume background, and the black sashing...such a striking combination.
Marla requested a custom quilting design. When I can, I draw out the shape of the block on grid paper, and then sketch one or two options. This was my favorite of the two, that I sent to Marla. It translated so well from a drawing to quilting.
I used a 30 tex Perma Core thread from A&E called Antique Cream. I also used my favorite Winline 8020 cotton/poly blend batting.
I also wanted to keep the sashing simple, because it was an 1” wide, and I wanted it to frame the quilt nicely. I couldn’t be more pleased with it. I love the four pointed star in the intersecting corners. On the back side of the quilt it looks amazing. (See pictures below)
In the past, I haven’t loved quilting the on point triangle blocks that fill in the edges on a quilt that is designed on point...that is until I started doing ruler work and adding some interest to an otherwise plain part of the quilt. This is a new take to a curve design that I’ve done several times. 1” lines crisscrossing to create a 4” grid. Which actually mimics the four 1/2” grid in the center on each block. I love tying the same design in different ways, on the same quilt. It creates cohesion in the quilting design.
I always love a good angled picture of a quilt to show all that texture.
This is the block that I quilted in the video below.
The purpose of this video, is to show the process of quilting a block custom as continuously as possible, and how I went about it. I love watching the ruler twist about as I quilt. That is what works for me. I twist it like that so I can use the lines on the ruler and not have to make a single mark on the quilt. I love The Edge rulers from Linda at The Quilted Pineapple!! I’m using her 16” Edge here. To check out her awesome rulers go to: https://thequiltedpineapple.bigcartel.com/
Hope that helps to see how I go about custom quilting this block. One of the reasons I don’t quilt over a previously quilted line or go into the ditch and make my way to the last background that I couldn’t quilt continuously, is because my personal quilting style is to keep my quilting as clean as possible. Excess quilting detracts from the overall design I want the quilting to have on a quilt. I would much rather stop and start one extra time.
The overall design is pretty great, if you ask me. It shows great on the back as well...
It’s always fun for me to see how the custom quilting in the blocks and sashing on the quilt top, turn out on the backing. This one didn’t disappoint. I love the echoed 4 pointed star in the sashing, I didn’t see the outside layer until I looked at the back, after it was all quilted.
Here is a view of the on point triangle edge block, from the back.
Thank you for coming by!! Please let me know if you have any questions.
- Leisha


