Featured on Urban Elementz Blog!
Hi friends,
Recently I was featured on the Urban Elementz blog. Go check it out here: https://www.urbanelementz.com/blog/2019/03/14/the-best-of-2/
I have a fun post on their blog coming up! I’ll share more on that when it’s available. Thank you, Urban Elementz!
For a look at all of my quilting designs that are available at Urban Elementz, go to: https://www.urbanelementz.com/catalogsearch/result/?cat=0&q=Leisha+Farnsworth
Thank you!! Happy quilting! - Leisha
Chris’ beautiful makes!
All of these beautiful makes were done by Chris, except for this first quilt, her husband made his Frits quilt. I think it’s fun that he wanted to see what the quilting process is all about. Chris brought over 7 things for me to quilt. I know that there are tons of pictures, but this is the perfect place for them. Let me know if you have any questions.
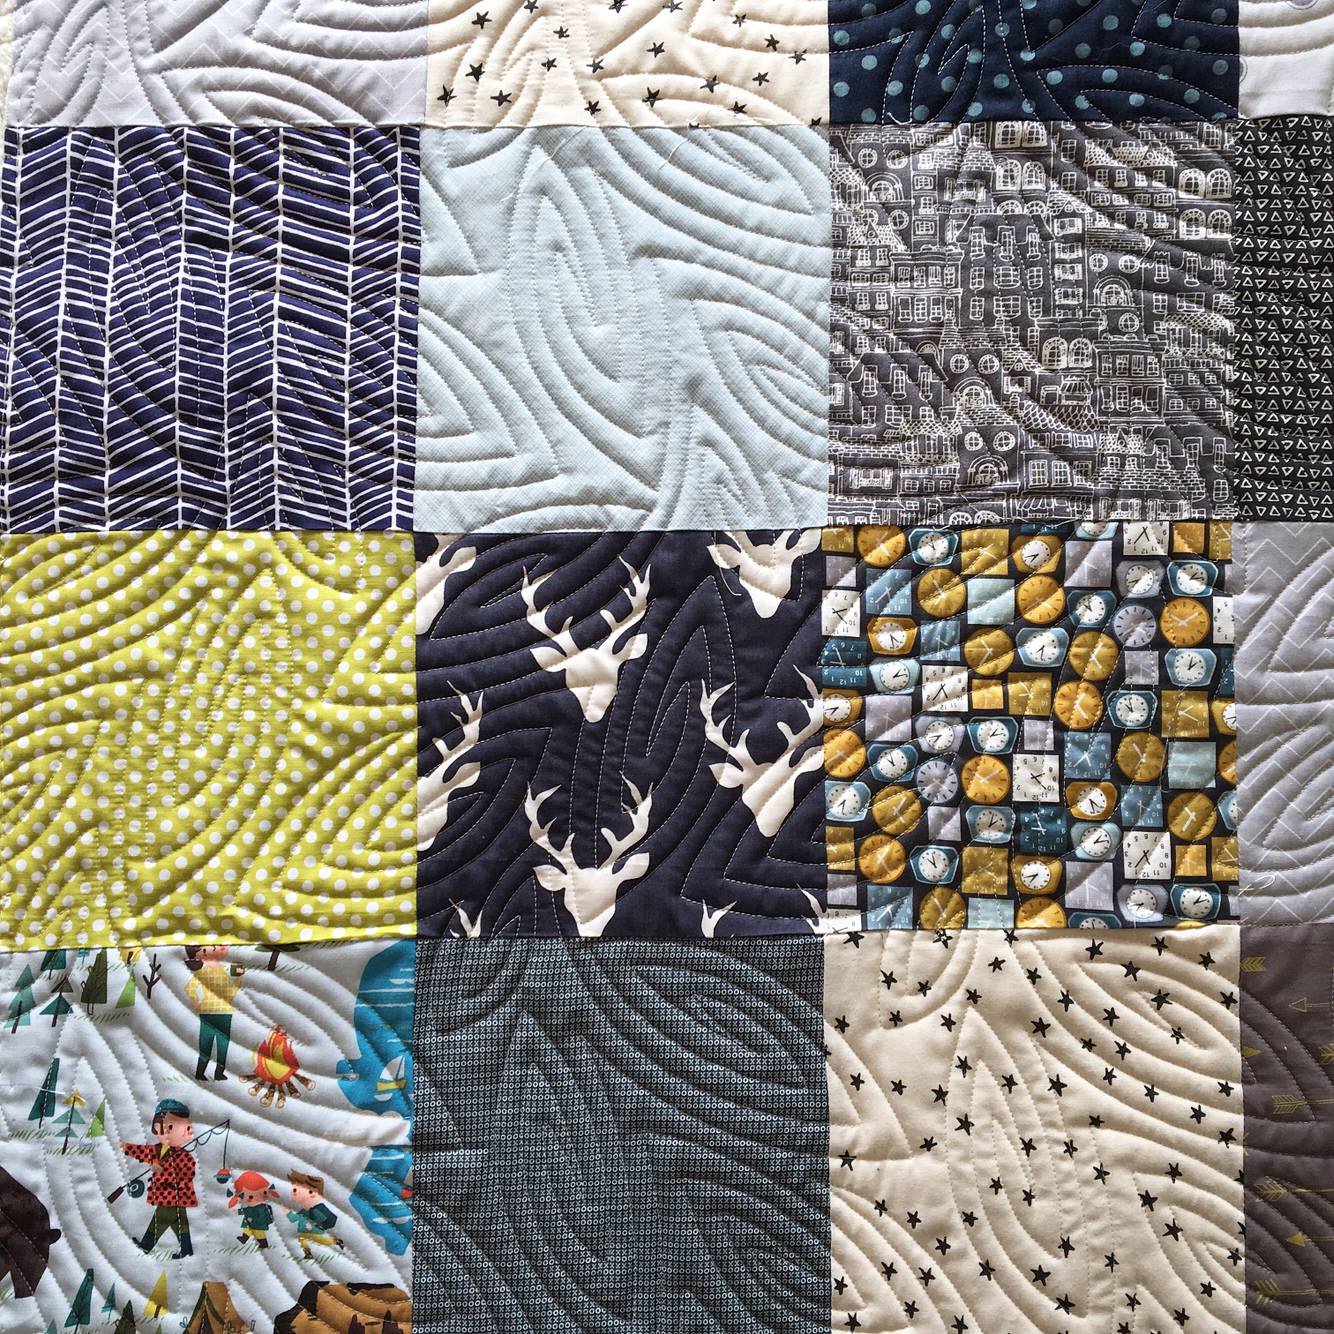
When I saw the fabrics on her husband’s quilt, I suggested Patricia Ritter and my Cedar©️ design, which I haven’t quilted out yet. I was so excited when he gave me the go ahead. Cedar is available in a paper and digital formats at UrbanElementz.com or click here: https://www.urbanelementz.com/cedar.html He requested navy thread. All the batting and thread used on all of these projects is 30 Tex A&E Perma Core poly wrapped poly thread...except for the Kaffe quilt, and 8020 cotton poly batting.
I love the movement and texture of this design, it couldn’t be a better fit with the fabrics.
Here is a view of the back...isn’t that awesome!
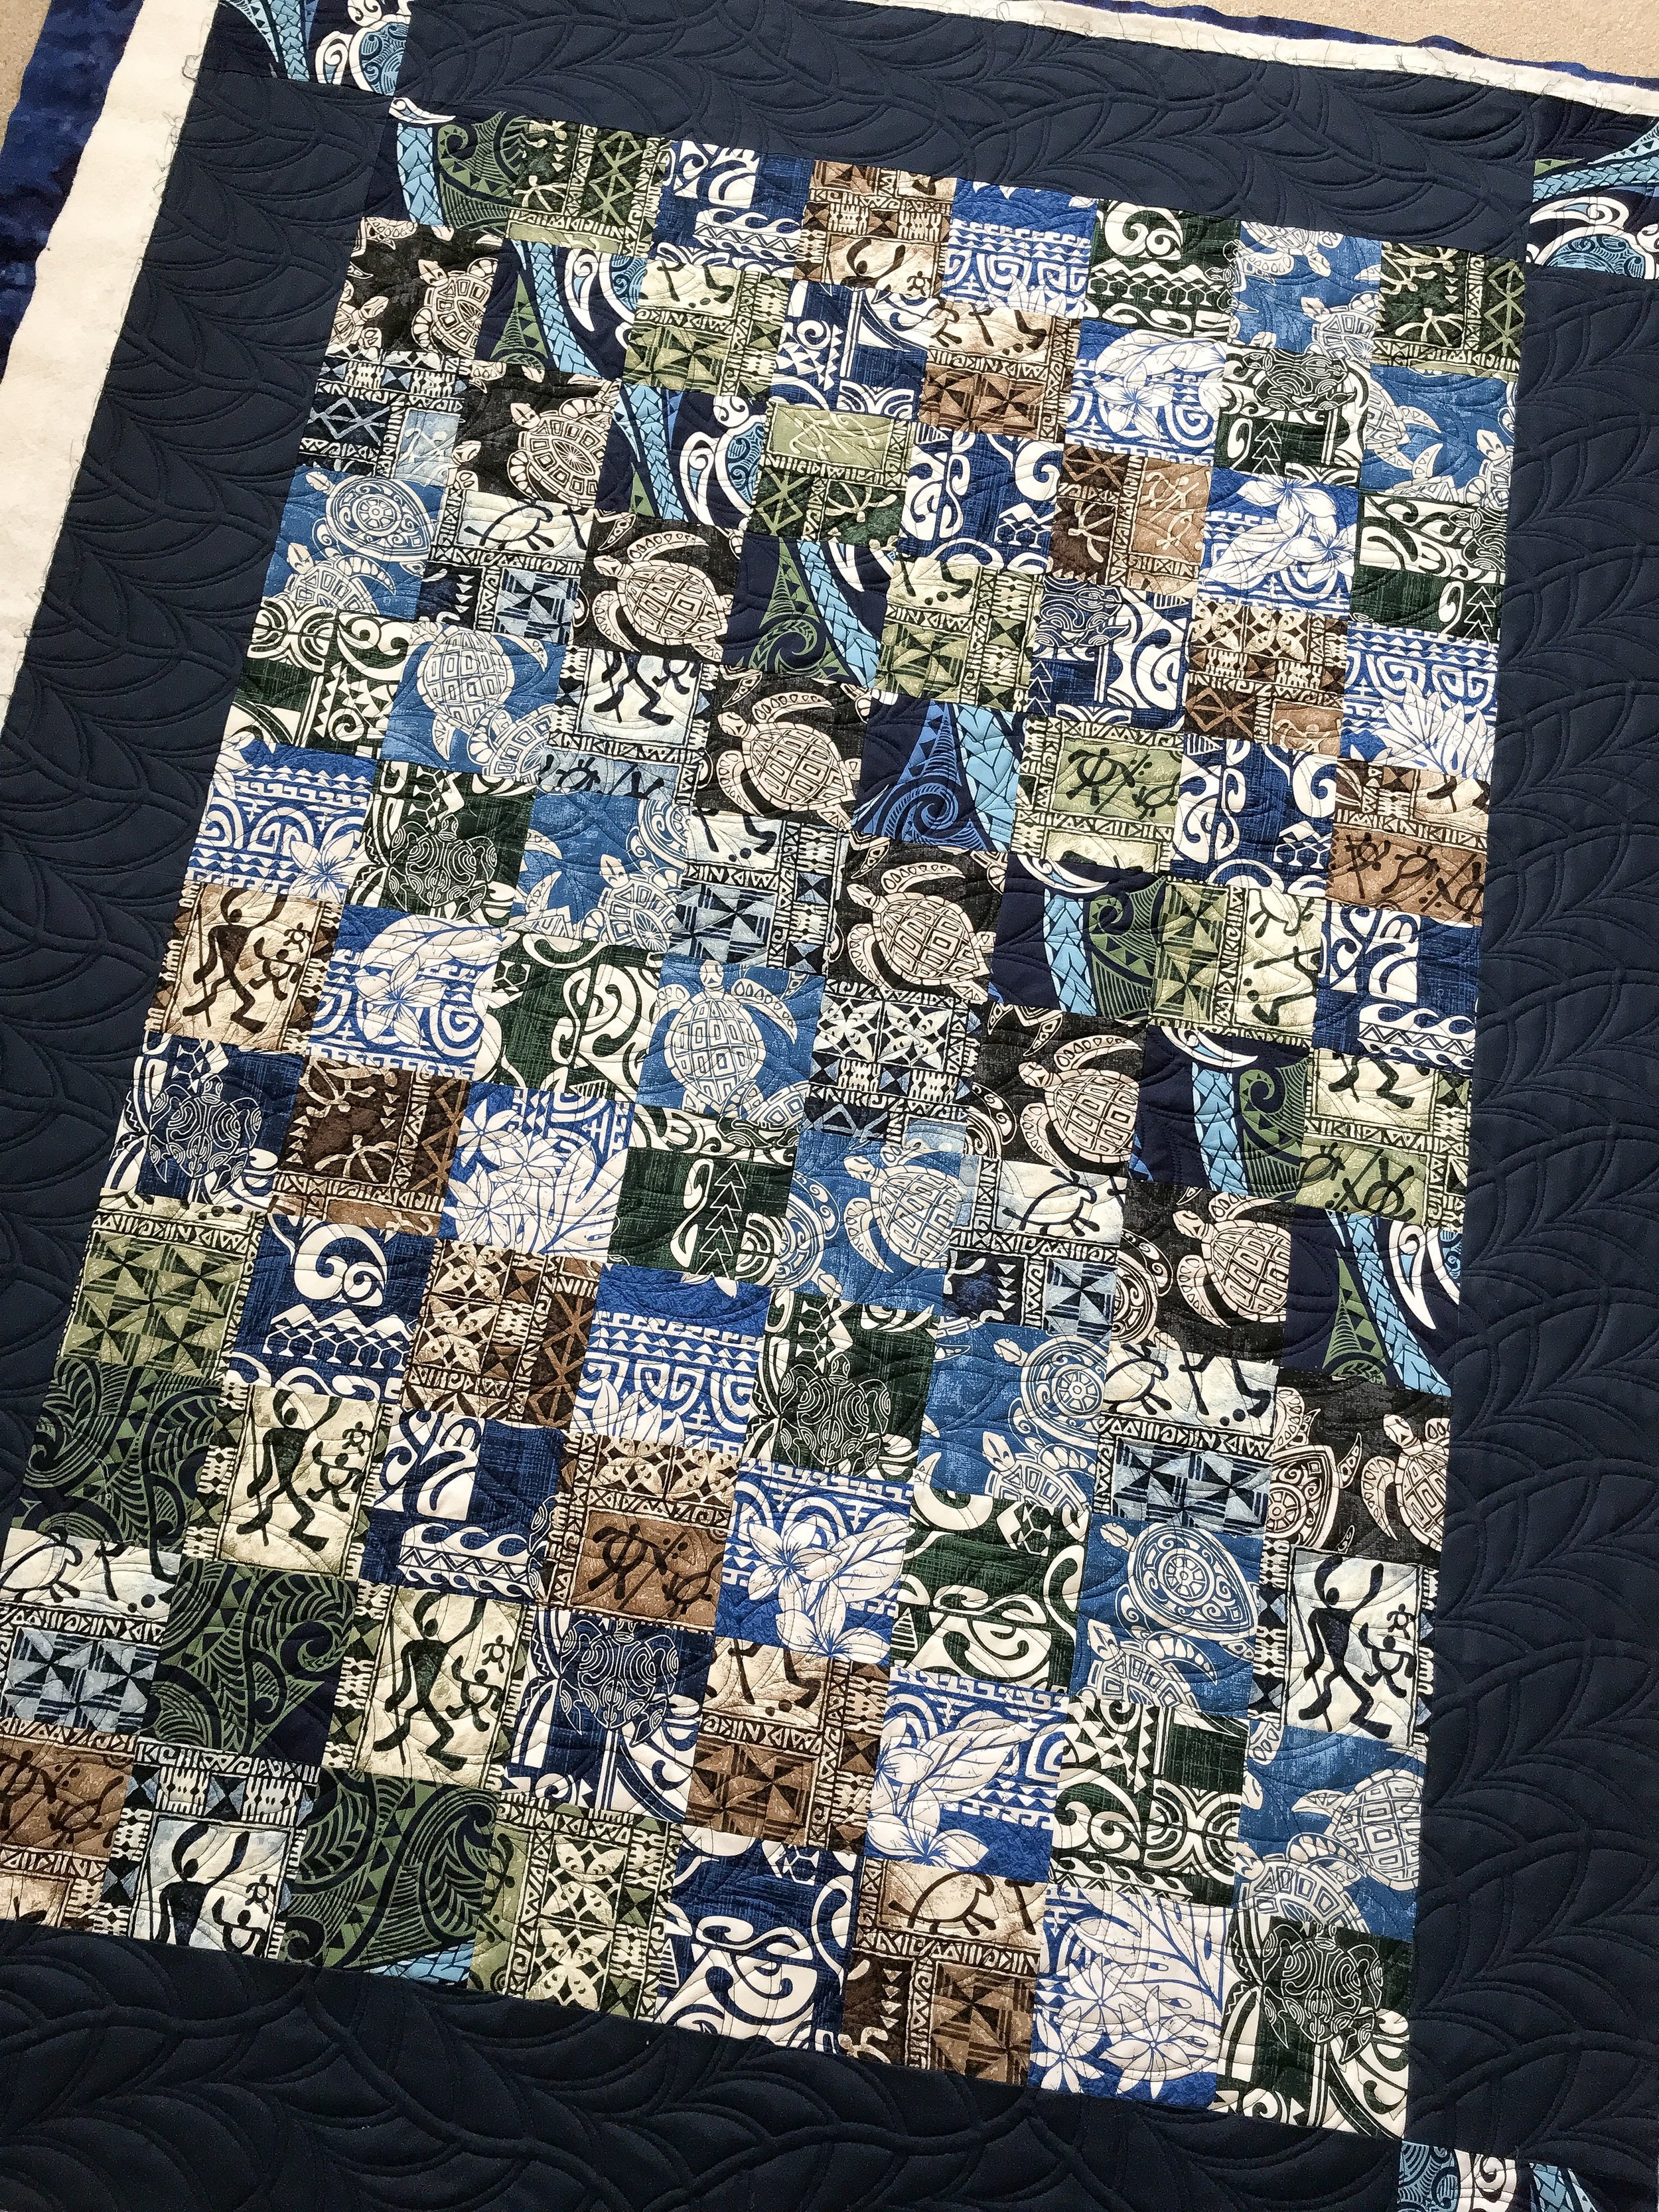
Chris made this beautiful log cabin quilt to add some fun color to their trailer to enjoy when they go camping. She used Kaffe Fassett fabrics.
She requested Patricia Ritter and my Chantilly©️ quilting design. It’s also available at UrbanElementz.com or click here: https://www.urbanelementz.com/chantilly.html
I did use a variegated thread on this quilt by A&E it’s one of their Signature threads that is 100% cotton and 40 Tex. It’s always fun to try and match variegated thread on such colorful quilts.
Next up are these three cute bench pillow fronts, patterns by Kimberbell Designs. I’ve quilted many of these before. My clients use muslin or a cream or white cotton fabric for the backing because they’ll attach the backing fabric and stuff their bench pillow inside. Each of these pillows come with additional dimensional pieces to add more texture. They are added after quilting is done, so that is why they aren’t pictured here. Check Kimberbell’s website for pictures on those details. https://www.kimberbelldesigns.com/ These pillows started out as traditional appliqué, now Kim has them also in machine embroidery patterns as well. You’ll have to check on her website for all the details. Each of these pieces was made using the embroidery patterns.
I do love to use one piece of backing fabric, if I can, especially when the pieces being quilted are so small. So, I baste one on...quilt it...roll the backing on the quilt frame...baste another one on...and so on until I have everything added on and quilted. I have even done this with 3 throws that have a minky backing. There is some great space in the throat of the longarm, which allows this.
First up...the flower pots...Chris made them to match the pots that she has on her front porch, which I think is clever.
All the quilting done on the rest of these projects is free motion, meaning it’s hand guided. No computer. I used my favorite 8” edge ruler from Linda at TheQuiltedPineapple.com to quilt the flower pots in a variety of different line designs. I did an all over swirly feather in the background of the pots and ribbon candy border design.
Next up, is the Welcome Spring pillow front. I love the rain boots! I did wavy lines to add texture to the boots. I decided on pebbles and swirls to mimick bubbles and ripples in puddles, for the background.
There will be flowers on the stems coming out of the boots. I love that cute little umbrella. I used a 5” circle ruler to quilt the curved lines inside.
Land that I love is the last of the three quilted onto the same backing fabric. I added some stars inside some of the circles, with the addition of swirls, it’s some fun textures for the background.
Along the sides, in the patchwork squares, I quilted a four pointed star in the squares down the center and then added some alternating diamonds down each of the sides, I love the design it created. I never know quite what things will look like as I’m quilting them, until it’s done. That’s one of my favorite parts is seeing all of the designs together. I used Linda’s 8” edge ruler for this one too. I did freehand pebbles in the inner light blue border, then I used a circle ruler (I can’t remember the size) to quilt the curves inside the navy inner border.
Here is a close up of the different lines I quilted in the bunting flags.
Next up is a birthday banner! This is also a Kimberbell pattern, Chris is making it into a banner instead of a pillow, so she brought a fabric like the borders down the sides, for the backing.
I used Linda from theQuiltedPineapple.com 12” edge ruler for these lines because the 8” isn’t long enough. I started with diagonal lines every inch, starting on the bottom left and working to the top right, then I can use the lines on the ruler for spacing as I’m quilting. If I quilted the opposite direction, I would be ahead of the lines I’m quilting, and wouldn’t have a line to use to line up to the lines on the ruler. So, if your new to quilting or ruler work, always quilt in a direction where you can use the lines you already quilted. Most of the time you won’t need to mark anything. After doing the inch diagonal lines, I do vertical inch lines. It creates the cross hatch angled diamond look.
I stippled the background to make the banner universal for everyone’s birthday. The red rope is there to attach letters to for whomever’s birthday it is.
Here is a close up on the birthday cake. Lines lines lines are always a fun texture to add with the stipple or pebble background filler designs. I used Linda’s 8” ruler again for these lines.
Last, but certainly not least is this sweet log cabin table runner. Kits are available on ShabbyFabrics.com ...however, be mindful if you want to have your runner machine quilted, they don’t provide enough backing for pinning to the machine canvas’.
Chris wanted it quilted like the ones that are pictured on shappyfabrics.com. Feathers in the log cabin blocks and wavy lines along the thinner outside border.
Thank you stopping by! I know that was a long post, and tons of pictures. Happy sewing and happy weekend!
-Leisha


